
Introduction
Cluster lashes are a quick and affordable way to achieve voluminous, glamorous eyelashes without visiting a salon. Unlike individual eyelash extensions, DIY cluster lashes come in small groups that you can easily apply at home. This guide will teach you everything you need to know about applying cluster lashes safely and beautifully.
What Are Cluster Lashes?
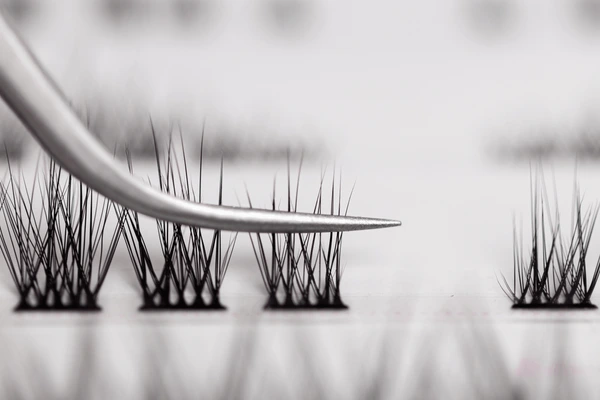
Cluster lashes, also known as flare lashes or multi-lash extensions, consist of 2–5 lash fibers grouped together. They provide more volume than individual lashes and are perfect for enhancing your natural lashes with minimal effort.
Benefits of cluster lashes:
- Quick and easy to apply
- Affordable alternative to salon extensions
- Can be reused multiple times with proper care
- Perfect for special occasions or daily wear
Tools You’ll Need
Before starting, gather the following tools for a smooth application:
- DIY cluster lashes of your choice
- Eyelash adhesive (latex-free recommended)
- Tweezers (angled or straight)
- Small mirror
- Cotton swabs
- Lash applicator or spoolie brush
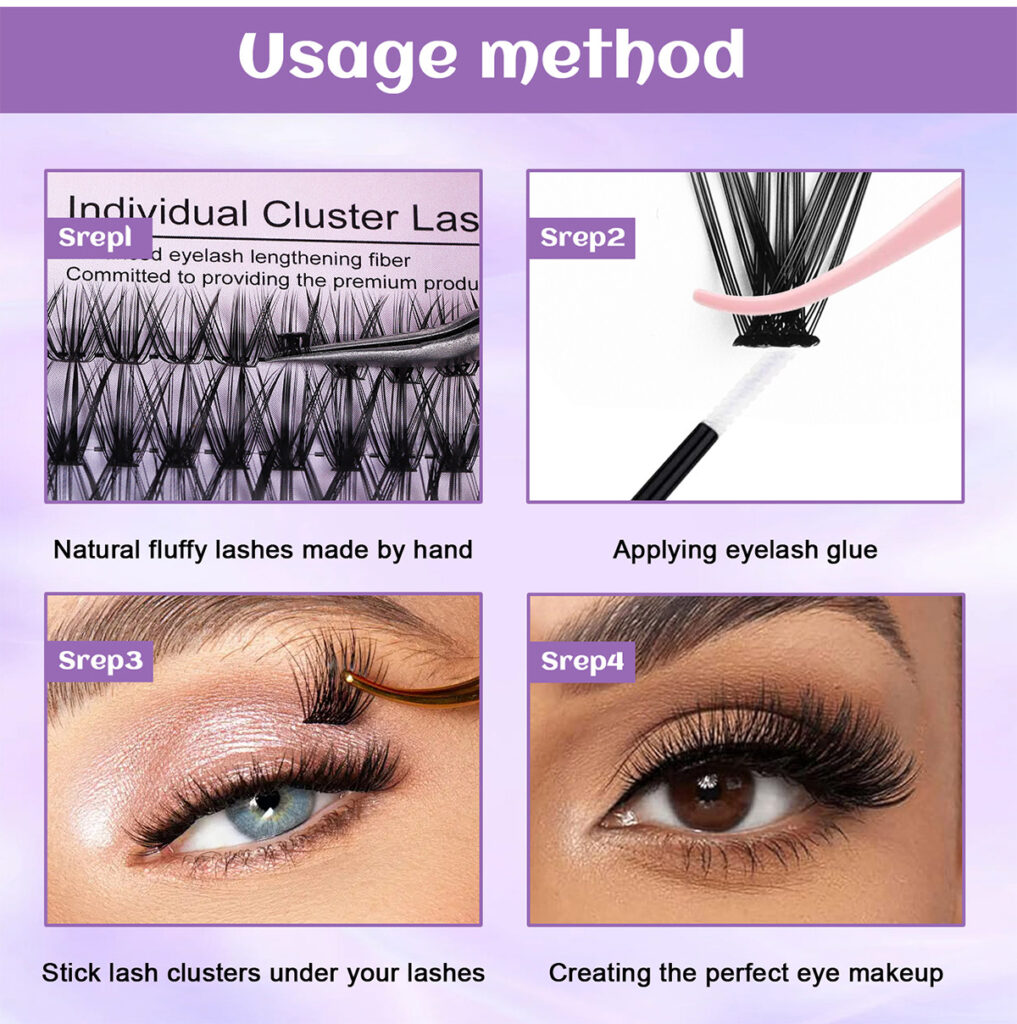
Step-by-Step Guide to Applying DIY Cluster Lashes
Step 1: Prepare Your Natural Lashes
Clean your natural lashes to remove makeup, oils, and dirt. Use a gentle eye cleanser or micellar water. This ensures better adhesion and longer-lasting results.
Tip: Curl your natural lashes lightly for a more seamless blend.
Step 2: Apply Adhesive to Cluster Lashes
Using tweezers, pick up a cluster lash. Apply a small amount of adhesive to the base of the lash. Wait 15–30 seconds for the glue to become tacky.
Tip: Too much glue can make the lashes messy and difficult to apply.
Step 3: Position the Lashes
Carefully place the cluster lash along your natural lash line, focusing on the outer corner for a cat-eye effect or throughout the lash line for full volume. Press gently to secure.
Pro Tip: Use a lash applicator or tweezers to hold the lash in place for a few seconds until the adhesive sets.
Step 4: Blend with Natural Lashes
Once all clusters are applied, use a clean spoolie or eyelash brush to gently blend the cluster lashes with your natural lashes. This ensures a natural and seamless finish.
Step 5: Let the Glue Dry
Allow the adhesive to dry completely before touching or applying eye makeup. Avoid getting your lashes wet for the first 24 hours to prolong wear.
Aftercare Tips for DIY Cluster Lashes
- Remove lashes gently using a lash remover or oil-based cleanser
- Avoid rubbing your eyes or pulling on the lashes
- Store unused cluster lashes in their original case
- Clean tweezers and applicators after each use to maintain hygiene
Common Mistakes to Avoid
- Applying too much glue – causes clumping and messy lashes.
- Placing lashes too far from the lash line – looks unnatural.
- Not waiting for glue to become tacky – lashes won’t stick properly.
- Overusing cluster lashes – can damage natural lashes if used too frequently.
Final Thoughts
DIY cluster lashes are an excellent option for anyone who wants glamorous lashes at home. With the right tools, patience, and practice, you can achieve a professional-looking result without spending a fortune at the salon.
Start small, follow this guide, and enjoy the confidence boost that comes with stunning, voluminous lashes!